
5 Tips for Visiting The Statue of Liberty and Ellis Island with Kids
State of Liberty and Ellis Island is a great place to visit with kids! We had an amazing time during a recent trip and have a few tips you might want to keep in mind if you plan on taking the family on this type of NYC adventure. My 5 Tips for Visiting the Statue of Liberty and Ellis Island with Kids will make your visit stress-free and memorable.


5 Tips for Visiting the Statue of Liberty and Ellis Island with Kids
My kid had so much fun on this trip that he’s already asking to do it all over again. Grab your kids and head out on a fun day trip to visit the Statue of Liberty and Ellis Island. Below is everything you need to know before you go plus my 5 tips to make it a stress-free memorable experience. Your kiddo will be asking to go back too!
1. Plan ahead and head out early when visiting the Statue of Liberty and Ellis Island
We decided last-minute on this trip to the Statue of Liberty and Ellis Island. Since it was last minute, we didn’t have much time to plan but we did go online and purchased our tickets the night before. Wish we would have done it sooner, though. By the time we went online to make our purchase the only tickets left were for the afternoon which means we had less time to see it all.
So word of advice, plan ahead and buy your tickets early! If you can, buy your tickets as far in advance as 7 days. That will give you best options in terms of travel times for ferry departures.
2. Skip the long lines
Well here is a cool little hack that will help you get to your destination quickly and stress-free. Instead of taking the ferry from NYC, we drove (because let’s face it, who wants to be on the subway with kids), parked our car for a minimal fee (just $10), and hopped on the ferry at Liberty State Park. This was so simple and quick! No lines at all and I just loved the comfort of being able to drive there.
[Tweet “Skip the long lines – 5 Tips for Visiting the Statue of Liberty & Ellis Island with Kids “]

Liberty State Park is a beautiful place with beautiful views of downtown Manhattan and Jersey City. I wish we would have had more time to explore it but since we failed at #1 (see above) we ran out of time. There’s always next time, though.


3. Go prepared
We packed some light sweaters, hats, and sunscreen when heading out to the Statue of Liberty and Ellis Island. The ferry ride can get pretty breezy so you’ll be happy you brought that light jacket or extra sweater. Even on a cool day, the sun can get pretty strong so a hat and some sunscreen is a must, especially for the kiddies. You also don’t want to spend tons of money on over-priced snacks, so pack a small bag or small cooler (larger coolers are not allowed) with sandwiches, juice packs, water, maybe some fruit. Your pocket will thank you! The only snack we purchased during the entire trip were a couple of pretzels while on the ferry, because who doesn’t love a NYC pretzel. It only cost us $5 for two.
[Tweet “Go prepared with these 5 Tips for Visiting the Statue of Libery & Ellis Island with Kids”]
When you arrive at Ellis Island, only a few feet from where the ferry docks, you’ll find a nice area with small picnic tables. It’s the perfect place to stop for a little lunch/snack break! Plus you don’t want to miss the incredible views of the NYC skyline from here. Make sure to have your camera ready!






4. Take advantage of the FREE audio
The audio tour is included with your ticket so take advantage of it! You can pick up an audio device right from the booth as soon as you hop off the ferry. I do however recommend you bring your own headphones. The speaker is loud enough to hear when held up to you ear but you’d probably prefer to be completely hands-free. Headphones are provided but I personally would rather use my own earbuds.
[Tweet “Take advantage of the FREE Audio & other great tips for visiting the Statue of Liberty”]
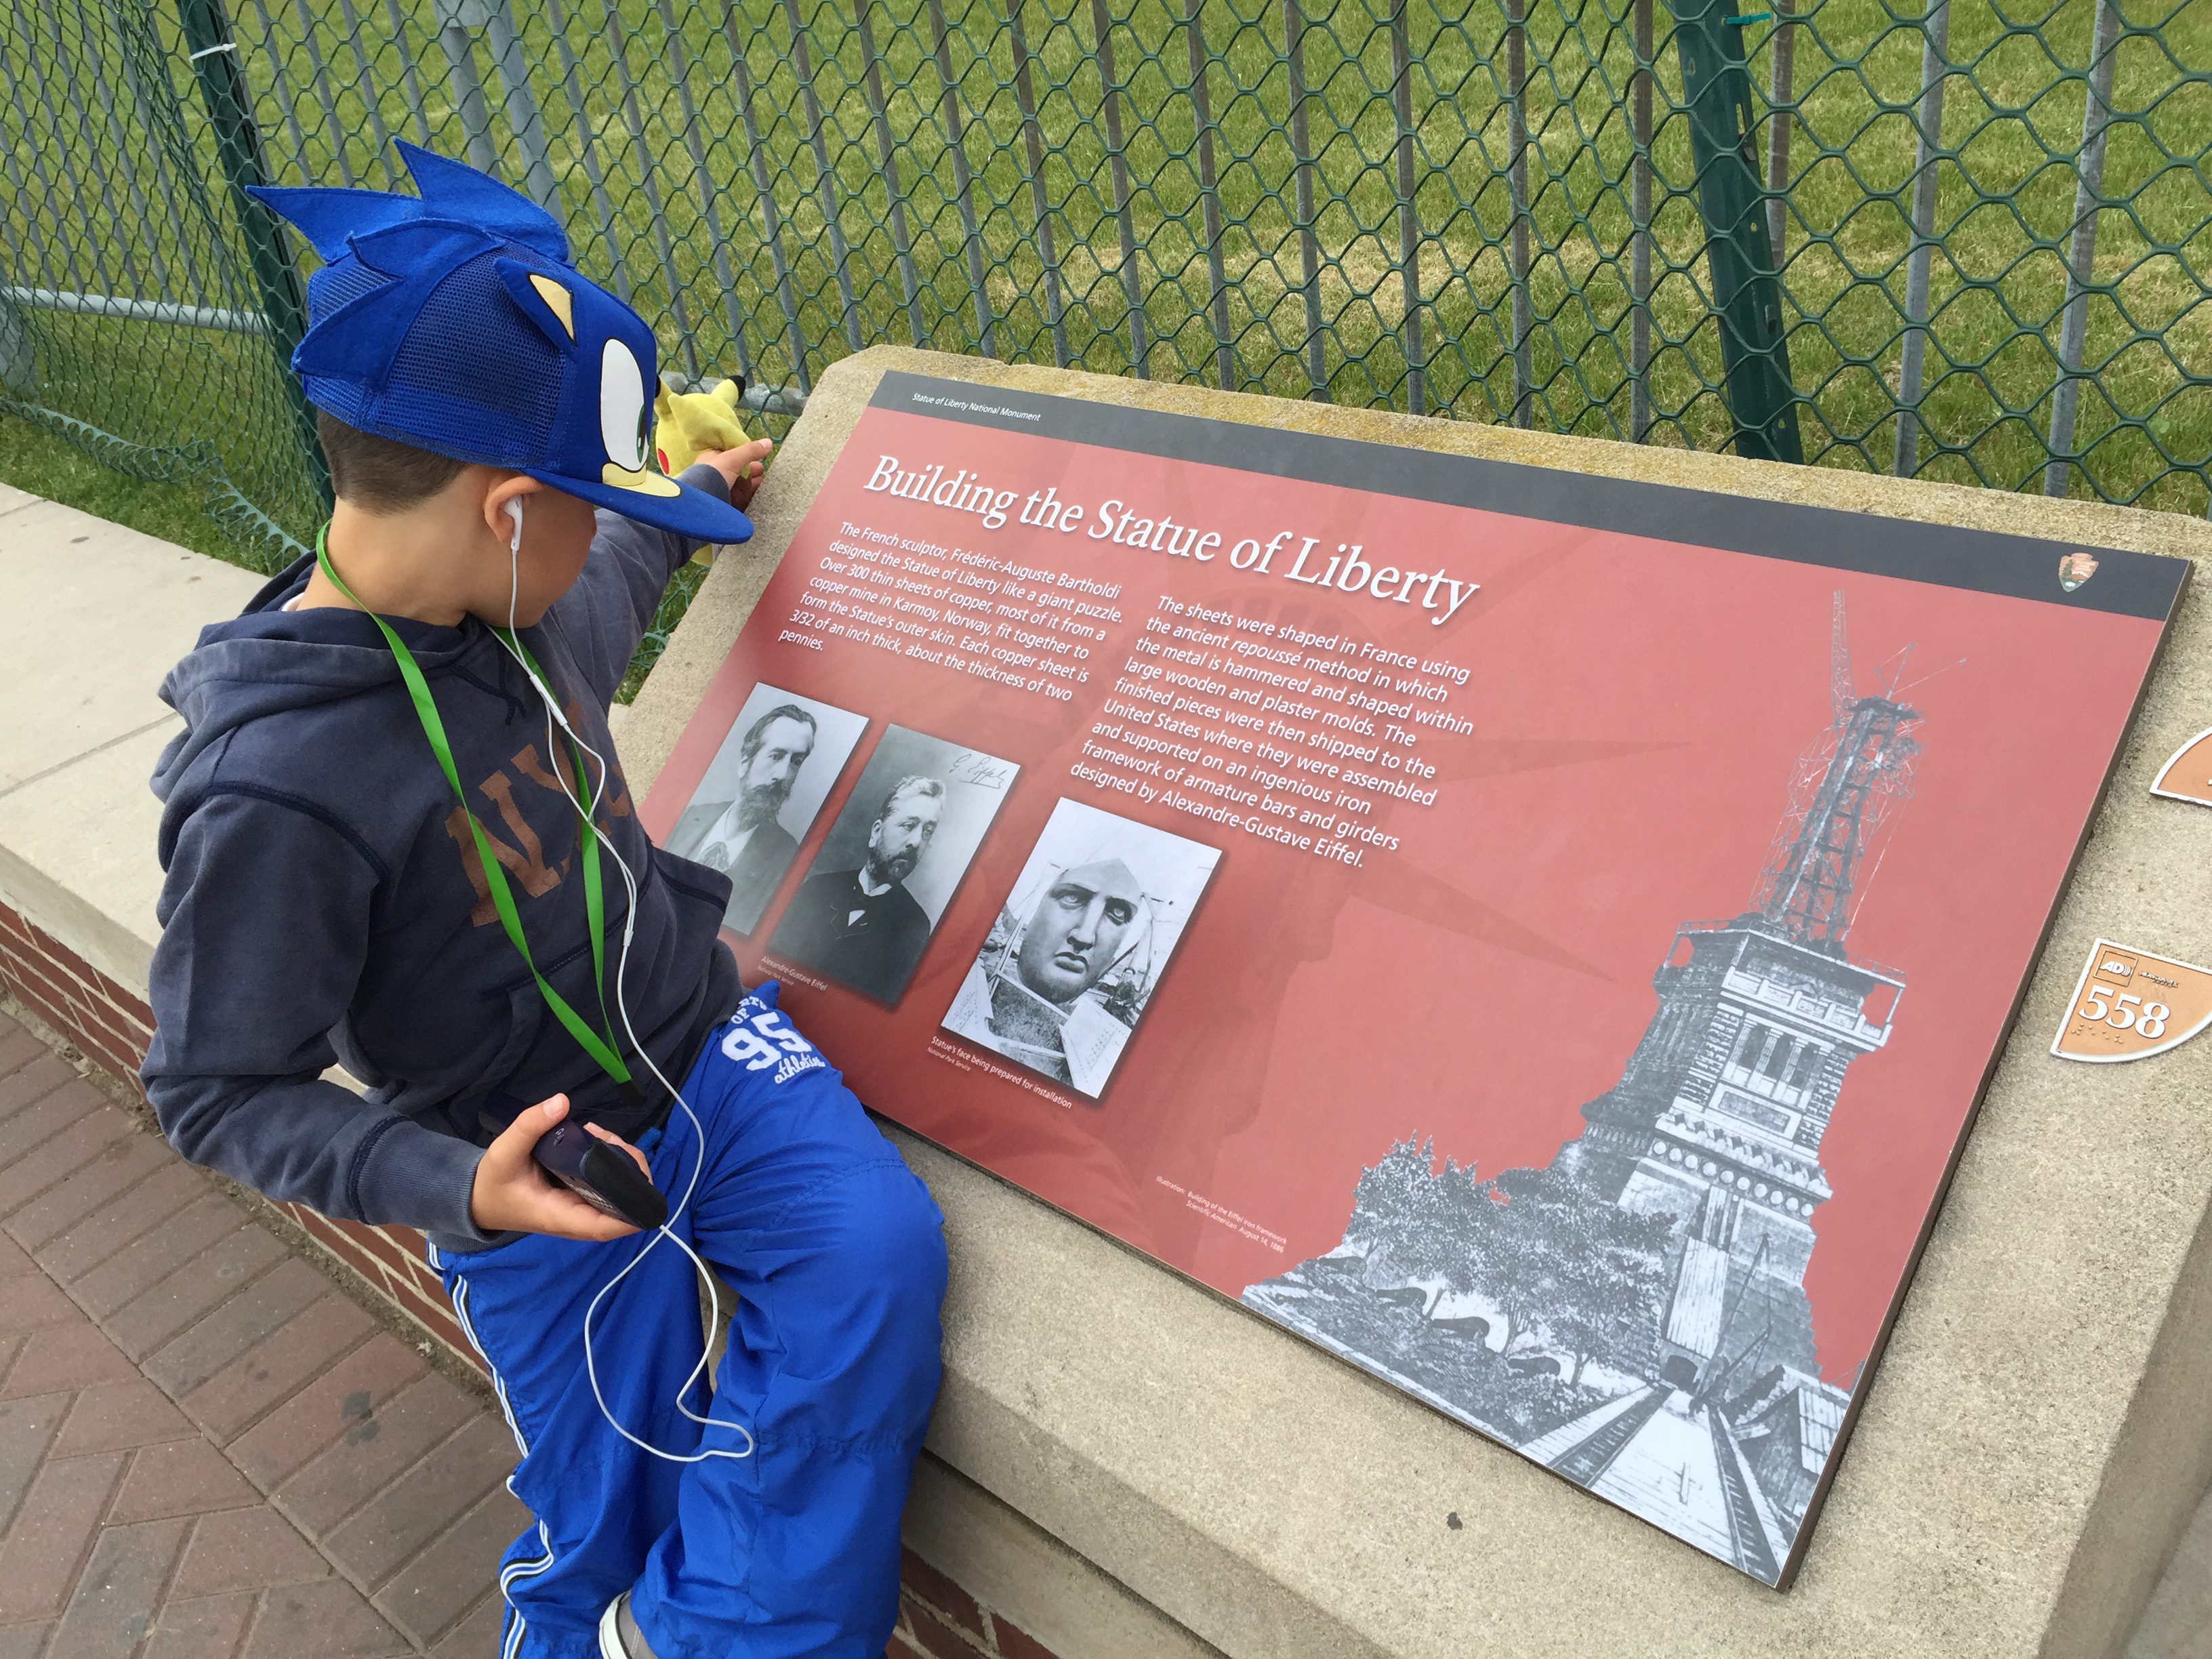
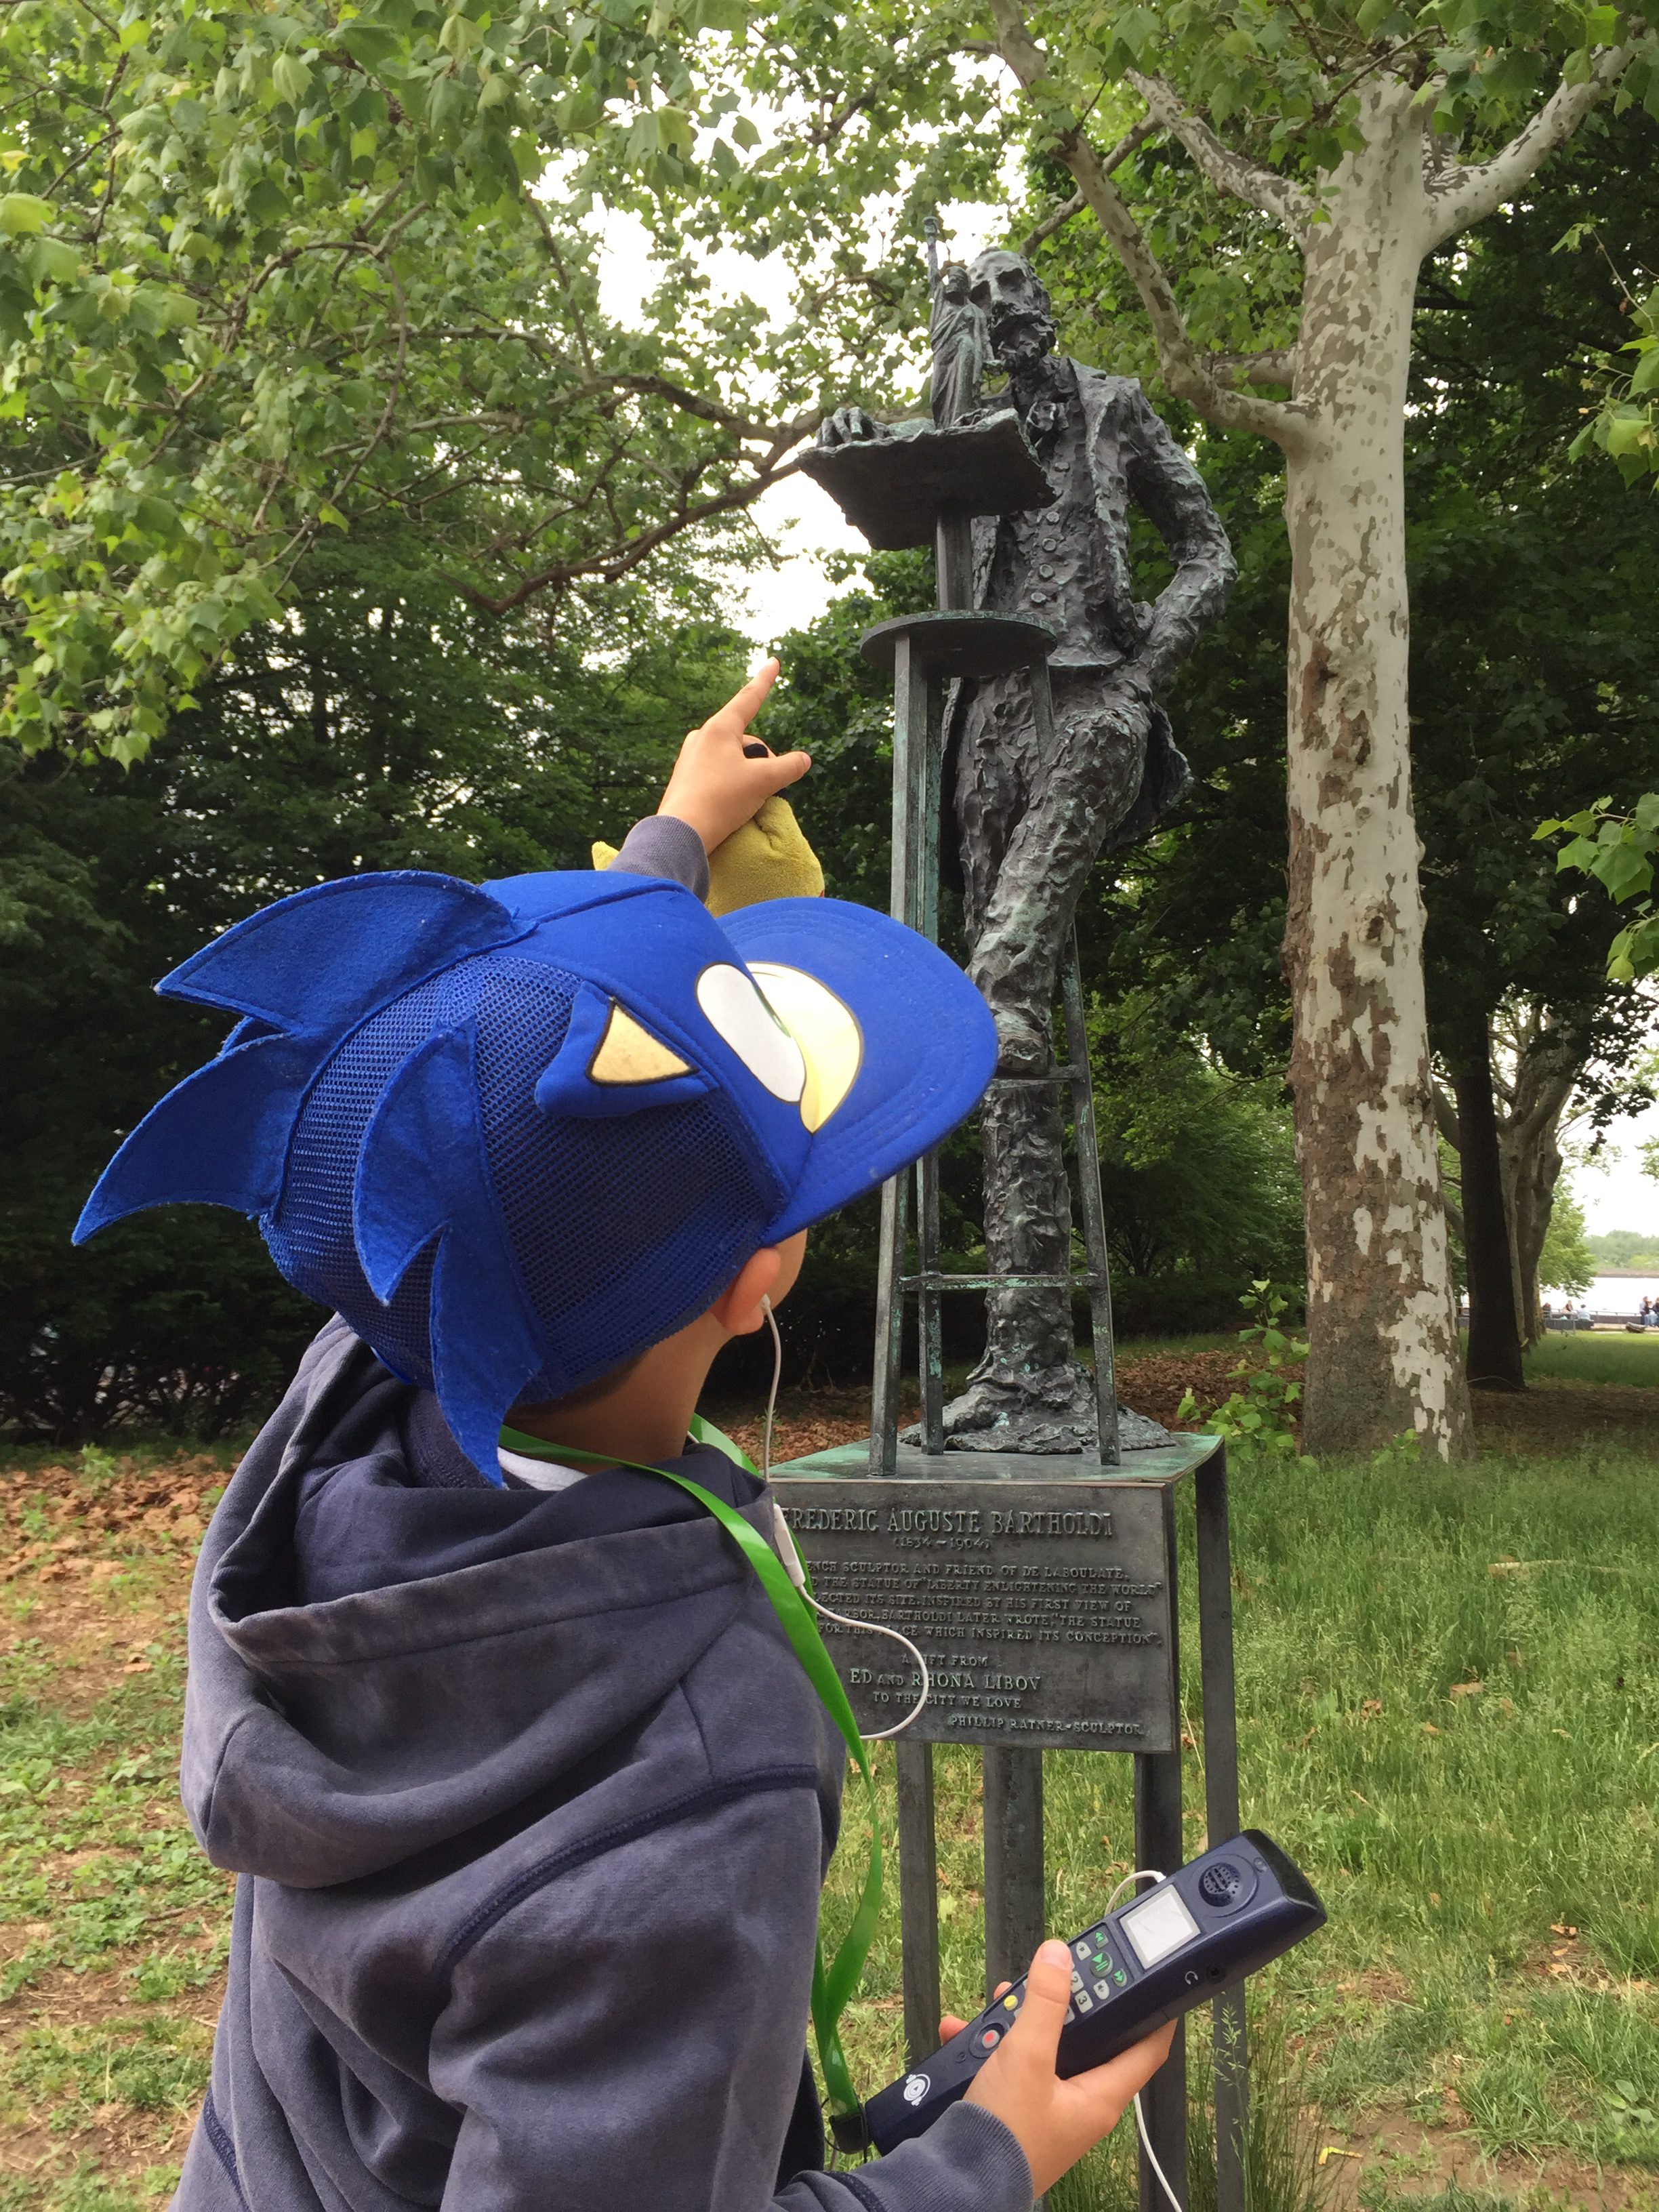
They even offer an audio tour geared towards kids. Just make sure to ask the booth clerk for the proper kids tour code because otherwise they will just direct you to use the adult tour code. I highly recommend that you follow the kids tour if you are traveling with your kiddos. My son truly enjoyed it and learned so much about the Statue of Liberty and Ellis Island. I even learned a few new facts myself!
Although I’ve been to the Statue of Liberty many times, I had no idea that the wall that the pedestal and statue stand on was at one time a fort that protected the harbor during the war of 1812. See! The audio tour is a great way to learn a little.
5. Skip the climb to the top
We knew we could not walk all 354 steps up to the crown of the statue with two kids in tow. We settled for only making our way up to the top of the pedestal. It was cool but really not worth it. If you are traveling with small kids, skip this part! My six-year-old enjoyed the walk around the outside of the statue the most (guided by his audio tour). I didn’t realize this until we got to the island but since our tickets were already purchased we went ahead anyway.


Going into the statue was a real pain because once you get inside you have to check in your stroller. If you’re like me, you’ve stuffed ALL kinds of things into your stroller and now you will have to unload it ALL into a way-too-small locker. The cost of the locker was only $2 but I just hated having to unload ALL the stuff from the stroller, only to replace it ALL a few minutes later — food, drinks, backpacks, camera bags, even purses are not allowed past the checkpoint.
We had a baby carrier with us, which my husband was wearing to carry our 7-month-old (who had just fallen asleep). Well, guess what? He had to take that off too when we got to the security checkpoint. That was a real big pain! Baby sleeping, peeling her off my husband’s chest while he emptied out all his pockets and removed his belt. No fun! Going through the strict security checkpoint with a sleeping baby was a bit of extra stress we really could have done without.
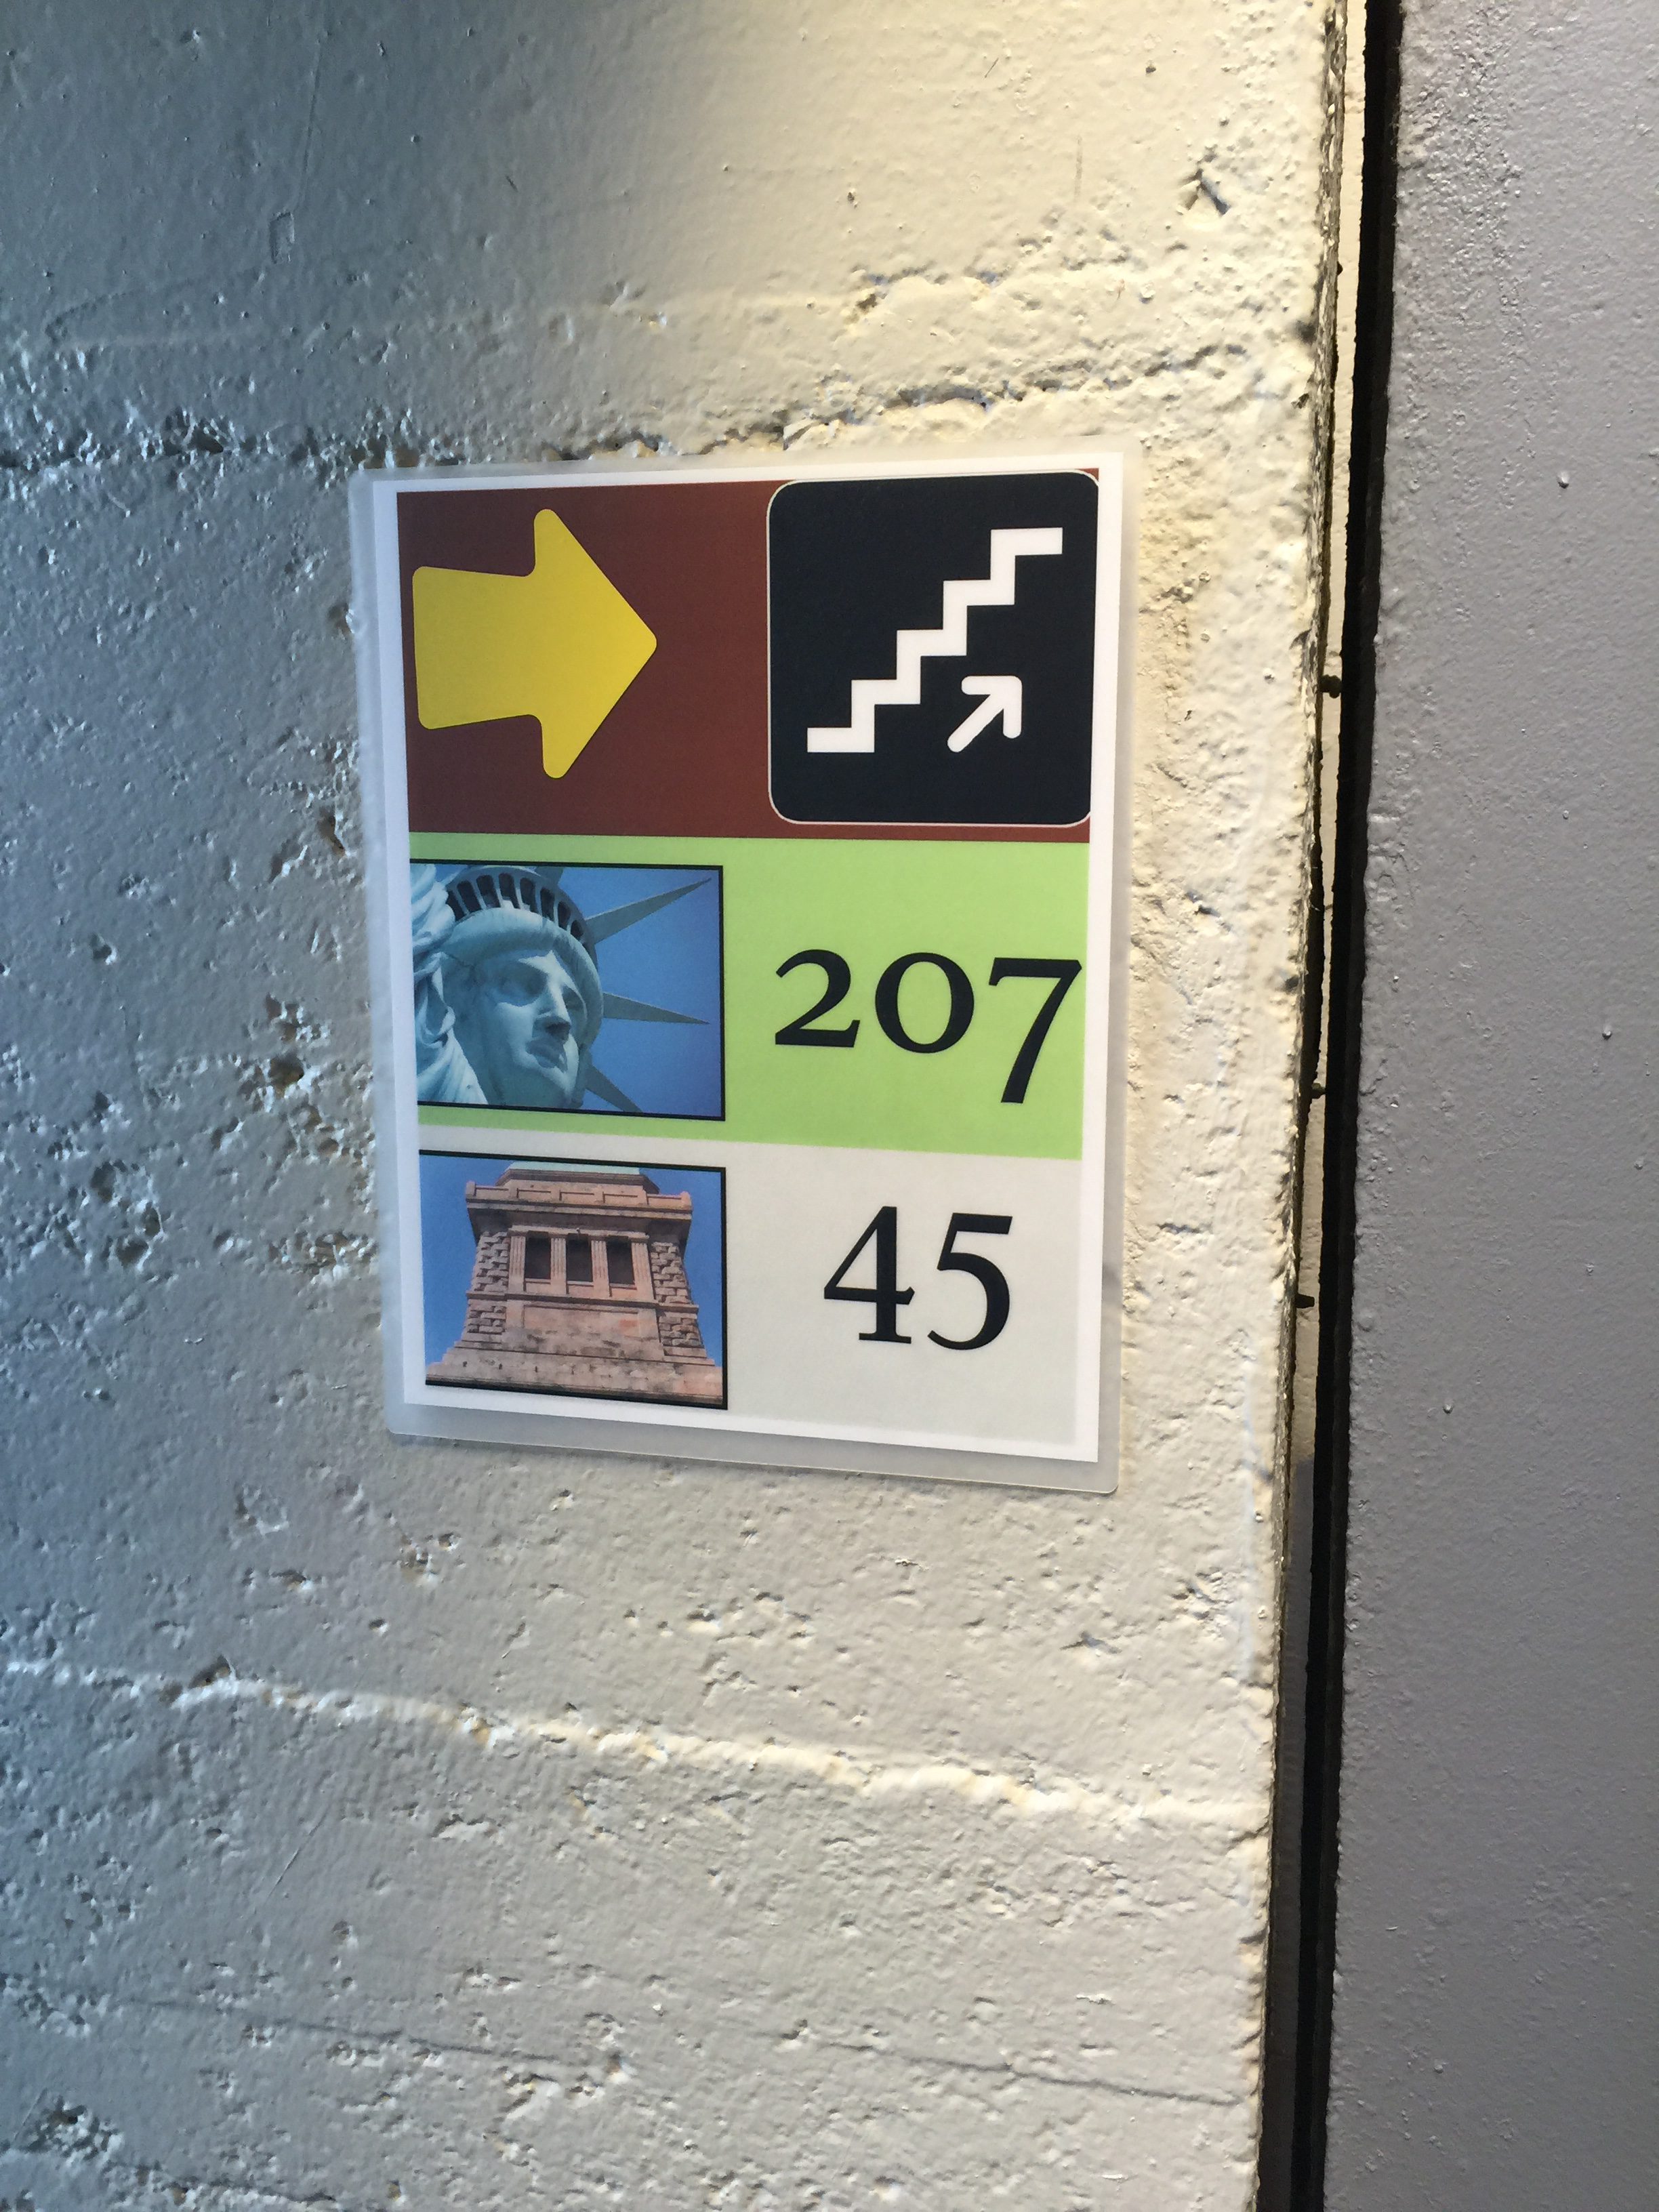
Once we finally got inside my son was so excited that he ran through the entire place so quickly that we really didn’t get to see much. We skipped the museum altogether (because someone was way too excited to make that stop) and made our way to the top of the pedestal, which you can reach by elevator or by climbing the 215 steps to the top. Guess which one we chose? Yep! The steps. I hated my husband for that one — oh my poor knees and my achy back. Word of advice, just wait for the next elevator! Or better yet, do yourself a favor and skip this part altogether!
You can plan to make the climb sometime in the future when the kids are a bit older (I would say 10 and up is a good age). It’s just a bit too hectic with young kids. You can see and enjoy the beauty of this monument best from the outside anyway, so take a nice leisurely walk around Lady Liberty instead.
[Tweet “A leisurely walk around the Statue of Liberty is the best way to take it all in…”]

But if you must venture into the statue, click the link ahead to learn more about visiting the pedestal.



Our day trip to the Statue of Liberty and Ellis Island was so much FUN! We learned so much and I’m sure my big boy will remember this trip for a long, long time. He hasn’t stopped talking about it since we got back!


[Tweet “5 Tips for Visiting the Statue of Liberty and Ellis Island with Kids”]
Follow my tips, gather the kiddos and head out on your own NYC adventure to visit the Statue of Liberty and Ellis Island! Enjoy 🙂
Don’t forget to pin this to your favorite Travel Pinterest Board to keep these tips handy!
and check out my NYC FUN with kids Pinterest Board for more fun tips. 🙂

Follow NYC Tech Mommy’s board NYC FUN with Kids on Pinterest.
For even more NYC Fun you might consider a walking tour of Midtown Manhattan. That was another recent NYC adventure we really enjoyed!
This post was featured by the International Bloggers Association. Are you a blogger? Make your blog awesome by checking them out! 😉
We were also featured in Family Fun Ideas. For great ideas of fun things to do with your family, head on over and check out Joanne at SeasonalFamilyFun.com.
You May Also Like

Active Vacation with Kids – A Survival Guide
June 13, 2018
3 Fun Outdoor Adventures on Oahu with Kids
May 10, 2019


