EASY Dip Dyed Marshmallows Easter Treats Instead of Easter Eggs
Dip-Dyed Marshmallow Easter Treats are Super FUN and Simple! Who needs Easter eggs when you can have yummy dip-dyed marshmallows instead?
This past week we started getting into the holiday mood around here. You know I try to make every holiday celebration a family tradition. My Big Boy had a playdate this past weekend so we turned it into an Easter themed event. The kiddos helped me decorate our windows with some Spring-y decor and then we created some FUN and SIMPLE marshmallow Easter treats! They even got to play cool online Easter games. Scroll to the end of this post for links to the online games.
So instead of color dying eggs we decided to dip-dye a few marshmallow Easter treats. These made for a FUN and simply delicious Easter treat. Here’s how we did it!
How to Make Dip Dyed Marshmallows Easter Treats
You’ll need to gather the following materials:
- marshmallows (we used Jumbo marshmallows)
- food coloring
- water
- muffin pan (a few small cups or other small container will do the trick too)
- optional Toothpicks, lollipop sticks, or straws for dipping, drying and then displaying your marshmallows (the kids actually used a fork, which is sturdier for little hands, to dip and then transferred a few dip-dyed marshmallows to pretty straws for easy eating)
- optional styrofoam or wax paper for drying (my kiddos actually used a paper plate which was easier and less messy for little hands)
- optional baking cups (we used them to create a pretty display to serve our treats in)
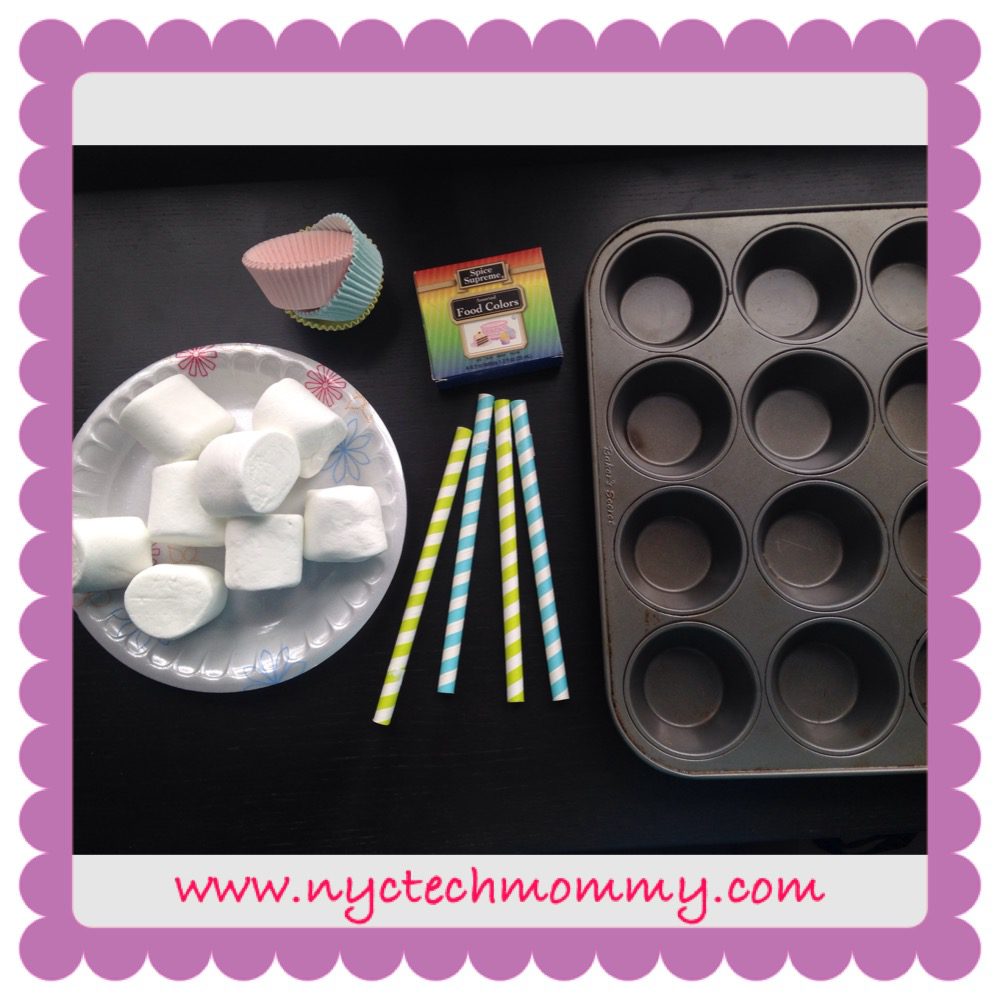
Start by filling the muffin cups with water (about half way or less) and then add a different food coloring to each cup. We used 4 primary colors but your kids can get creative and mix their own colors too! We added a few drops of food coloring to each cup, just enough to give the water a bit of color and make our marshmallows look as if they had been dip-dyed in Easter-perfect pastel colors. If you want the color to be a bit more intense you’ll have to add 20 drops or more of color to each cup of water. You may have to play around with the food coloring a bit until you get the color intensity that makes you happy.
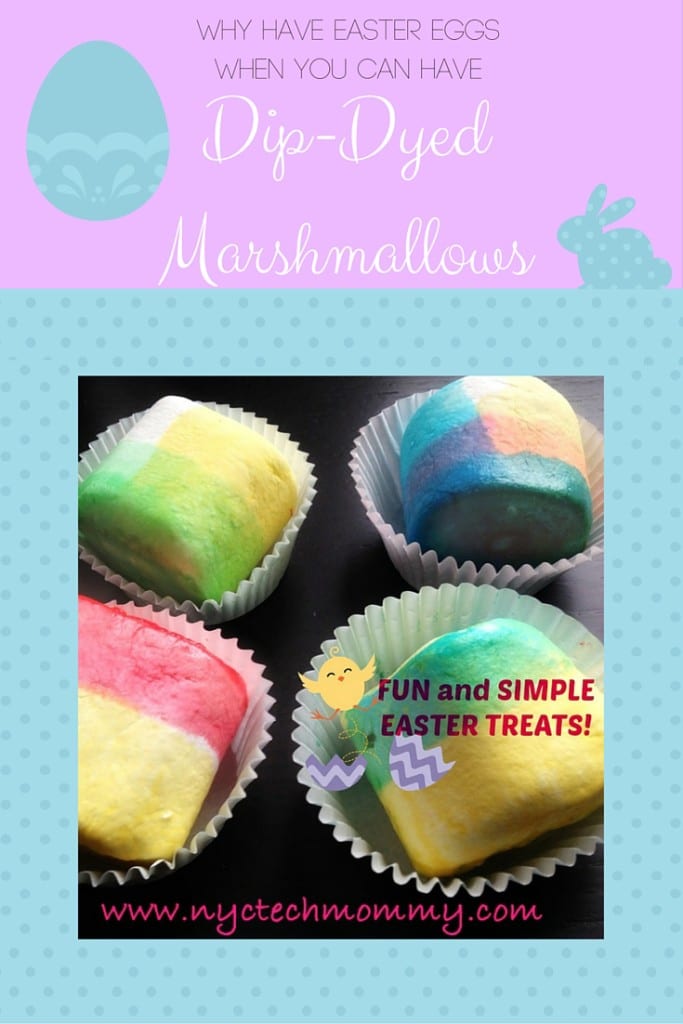
Place a marshmallow on a toothpick, lollipop stick, straw or fork and let the dipping FUN begin. Get creative! You can dip the tops only or dip diagonally to create a FUN design. The kiddos really enjoyed this part… almost as much as eating their marshmallow Easter treats. 🙂

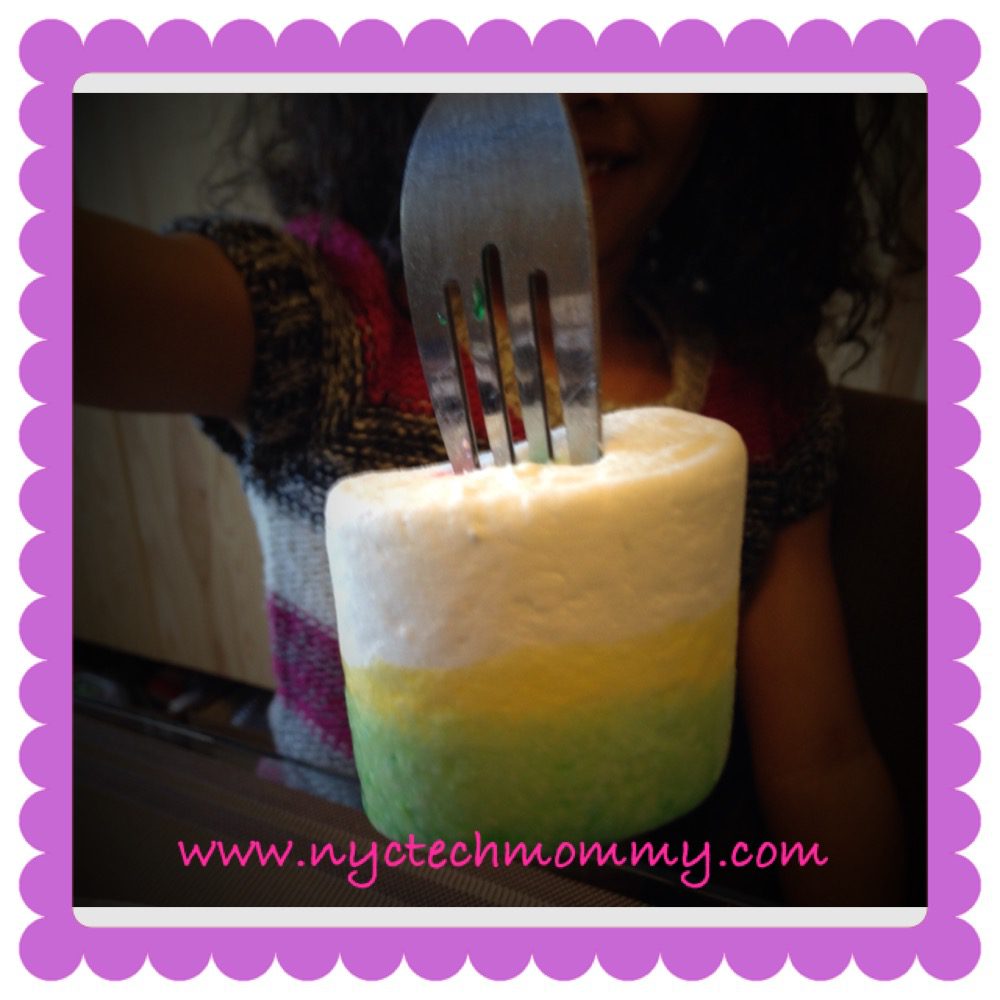

SIMPLE tips to help you create the perfect Easter Treats 🙂
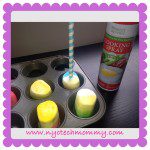
If you are using a muffin pan, you can drop a dip-dyed mashmallow into each empty cup to dry. Just add a little cooking spray to the bottom of each cup. This will keep marshmallows from sticking to the bottom. It’s a great place to dry your marshmallows if you don’t have wax paper or a piece of styrofoam to stand your marshmallows to dry.
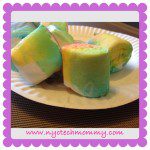
Allow marshmallows to dry between each dip. This will avoid color from running or mixing while dipping. By doing this, you can also dip the entire marshmallow, top and bottom and add the straws or lollipop sticks after the marshmallows have been completely dipped and dried. Kid-created, super fun, and simple Easter treats!
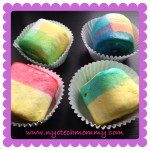
Place each dried dip-dyed marshmallow treat in a baking cup and serve. The jumbo marshmallows fit perfectly in a regular size baking cup. You can use mini baking cups if you are using regular sized marshmallows. We used Easter-perfect pastel colored baking cups to give them that extra holiday feel.
And if your kiddos want some more Easter treats, here are the links I promised at the beginning of this post. The kiddos had a great time playing these online games during their play-date! Hope your kiddies enjoy these too. Have FUN – with tech, that is!) 😀
Fun Easter Websites for Kids
Go ahead and share these ideas with other mamas. I’m sure they’ll appreciate it! And don’t forget to pin this idea to your favorite Seasonal Pinterest Board.
You can also check out more Easter Treats and some other FUN Holiday Treats by following me on Pinterest! 🙂
You May Also Like
3 Ways to Sip Sparkling Apple Cider and Celebrate Fall
September 21, 2015
July is National Ice Cream Month – Celebrate with Sweet Sprinkles!
July 19, 2017

